Configuring Export to Nerdio Manager
Get Nerdio REST API Credentials#
Login to Nerdio Manger.
Then on the navigation menu select Settings - Integrations
Under REST API select show
The credentials required for the next part will be displayed, leave the page open
info
If you don't know the Secret you might have to regenerate it, however this may affect any other services using the Nerdio REST API.
Configuring your Rimo3 Cloud Tenant#
To complete the configuration of Nerdio Manager in your Rimo3 Cloud tenant you will need the details from Step 4 above:
Login to your Rimo3 tenant with an account that has Admin rights
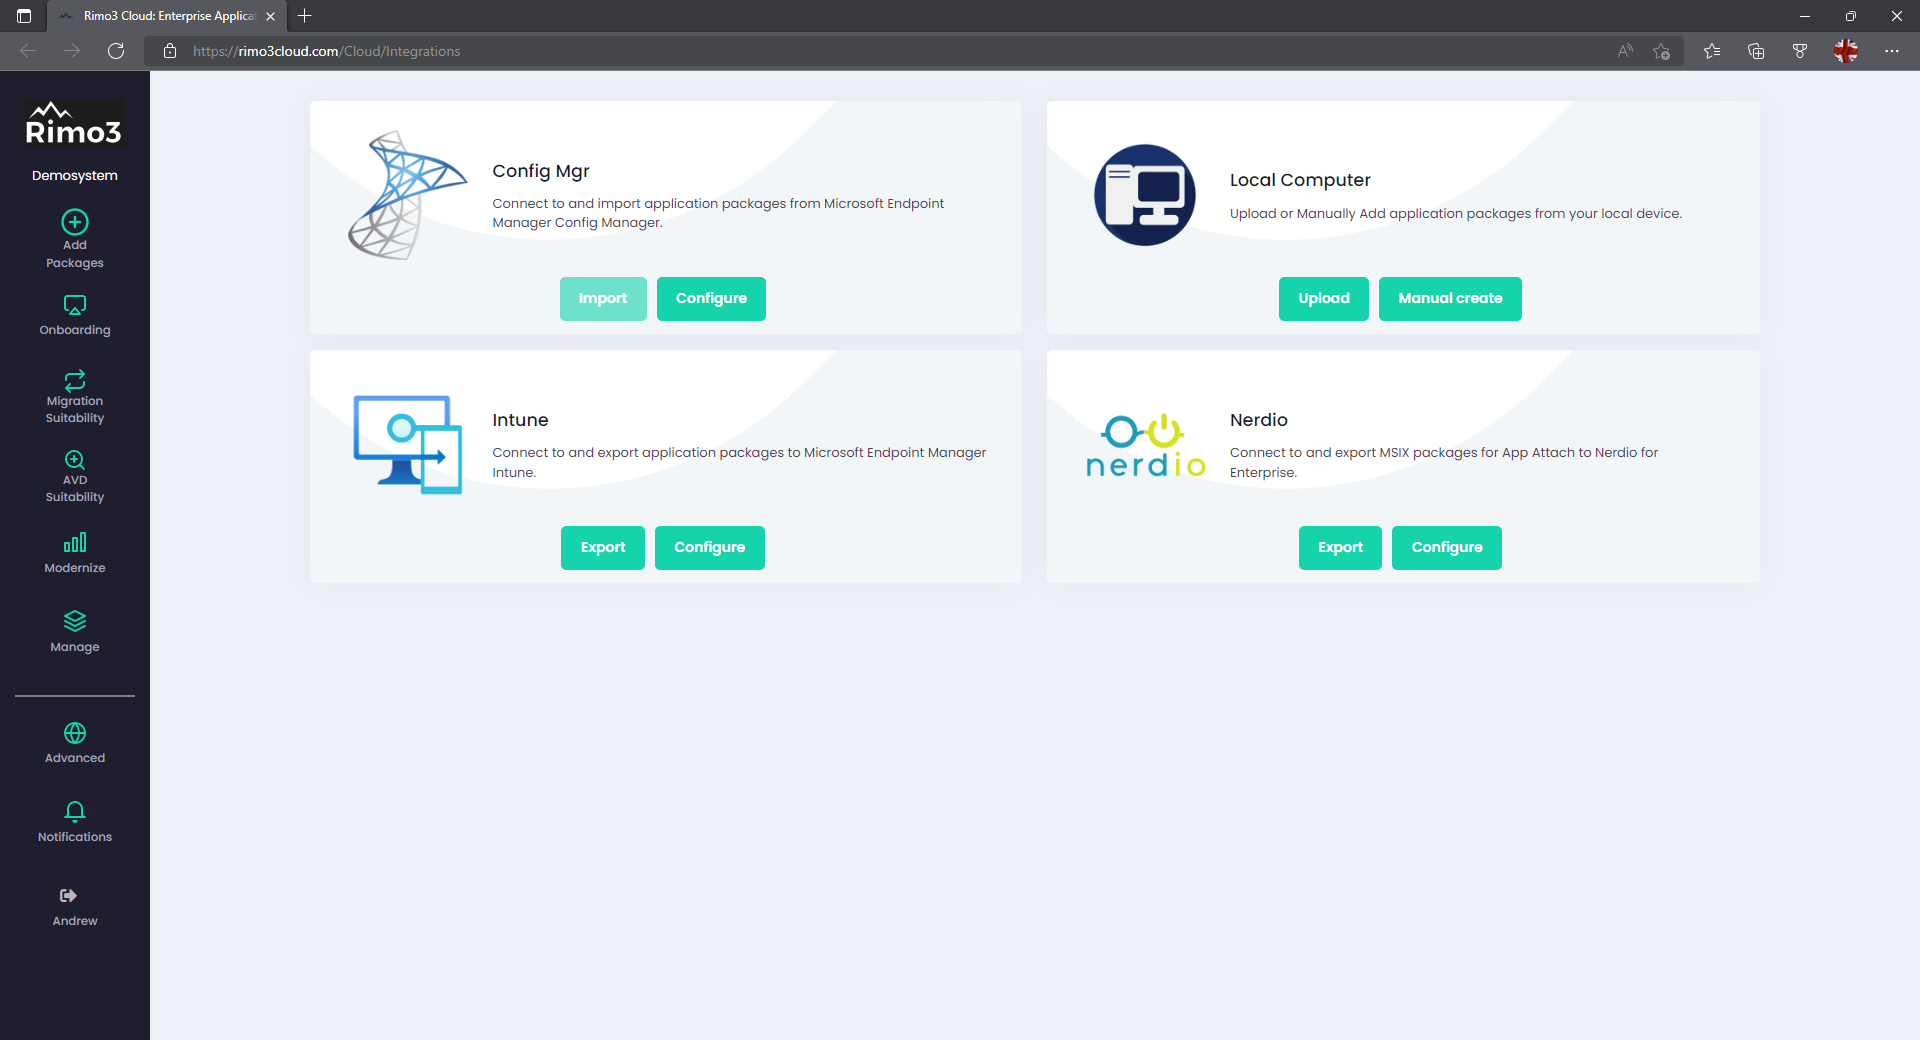
Click on Advanced – Integrations to open the Integrations Hub

Select Configure on the Nerdio card
On the Nerdio instances card select + Add instance

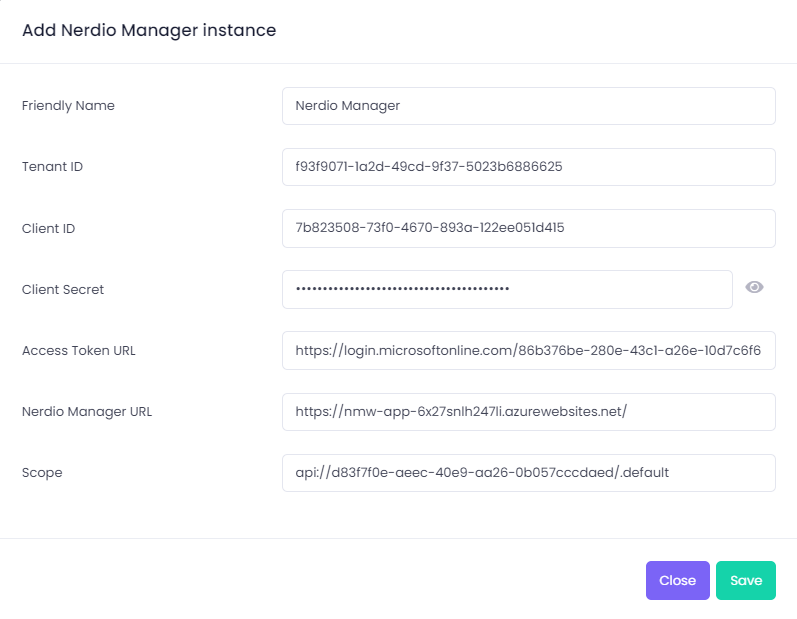
On the Add Nerdio Manager instance dialog complete all the fields and click on Save:

- Friendly Name – this is the name that will appear when choosing which Nerdio instance to export to
- Tenant ID – TenantId from Step 4 above
- Client ID – ClientId from Step 4 above
- Client Secret – Secret from Step 4 above
- Access Token URL – OAuth 2.0 token from Step 4 above
- Nerdio Manager URL – URL for the Nerdio Manager Instance
- Scope – Scope from Step 4 above
info
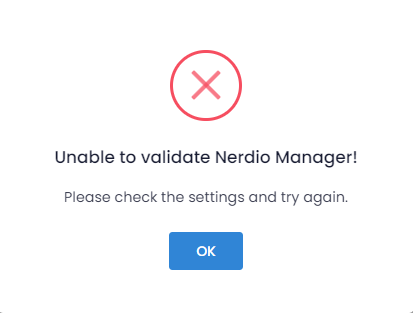
The Nerdio Manager details are validated before they are saved if any of them are incorrect then they will not be saved and you will have to update the incorrect value(s)
The configured Nerdio instance will now be listed on the configuration page, and you can start exporting packages to it.


