Configuring Export to Intune
There are two parts to configuring Export to Intune:
- Creating an App Registration, which creates credentials and sets up the necessary API permissions to allow packages to be exported to Intune
- Configuring your Rimo3 tenant with the details from part 1
Creating an App Registration#
Login to the Azure Portal with an account that has Application Administrator permissions.
Make sure you are connected to the correct Azure Tenant for Intune.
Browse to Azure Active Directory and make a note of the Azure Tenant ID.
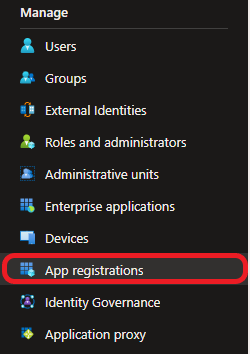
Then on the navigation menu select App Registrations
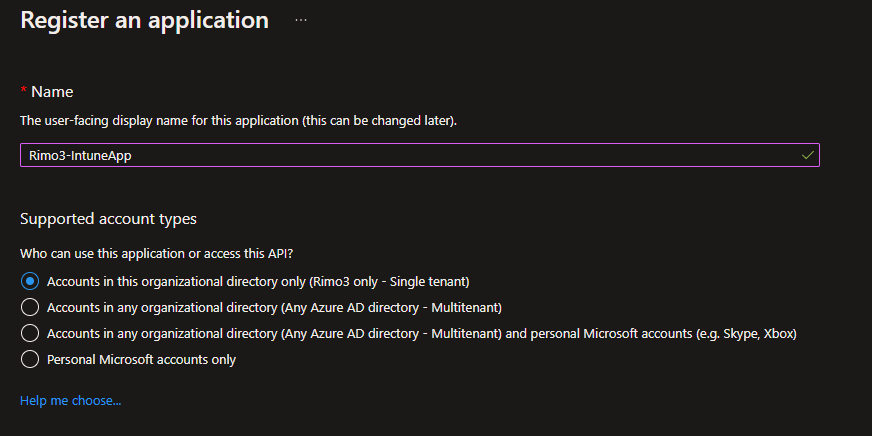
Select New registration

Enter a name for the App Registration, such as Rimo3-IntuneApp, and select a supported account type, “Accounts in this organization directory only” is typically sufficient.
info
A Redirect URI does not need to be configured
Click on Register

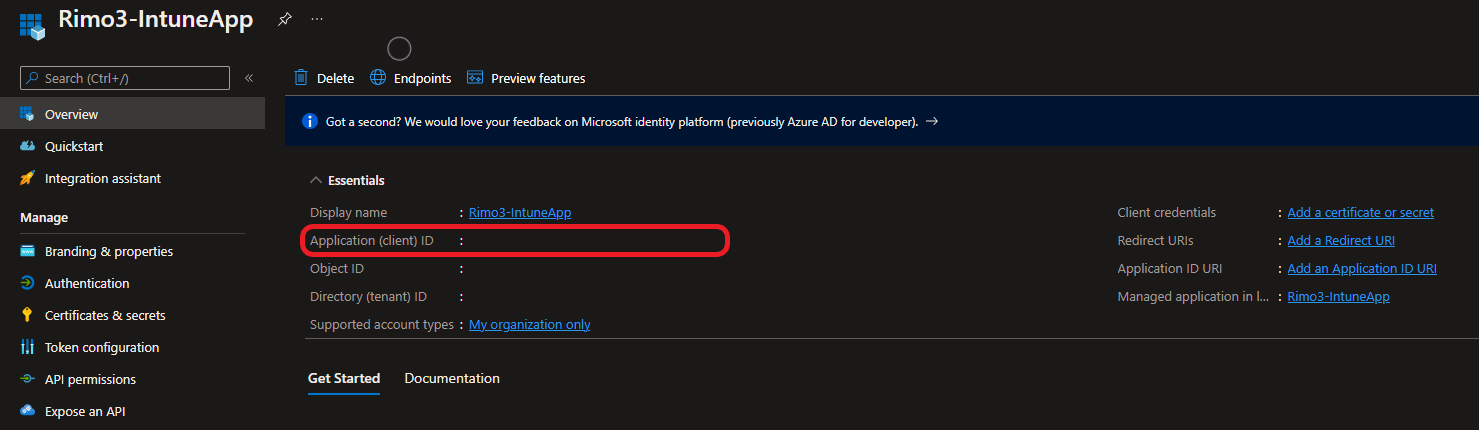
Make a note of the Application (Client) ID as this will be needed later when configuring your Rimo3 Cloud tenant.
Select Certificates & Secrets and click on New client secret
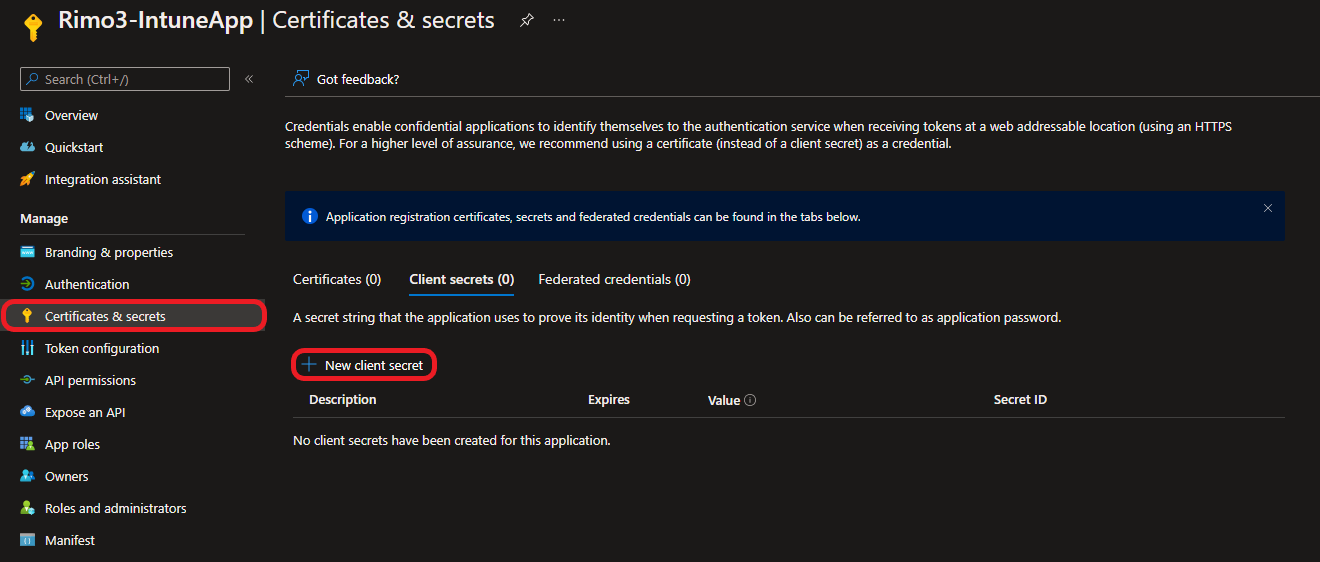
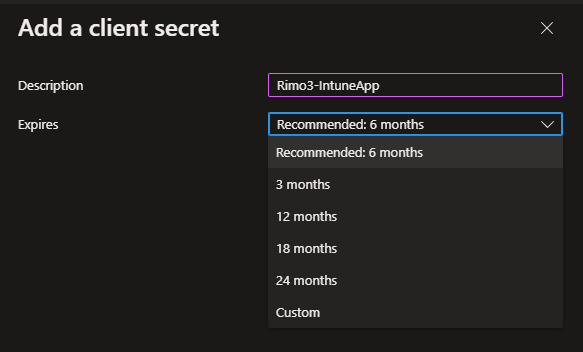
Enter a description, such as Rimo3-IntuneApp, and choose when the client secret should expire.
info
You will need to create a new secret and update the Intune configuration in your Rimo3 Cloud tenant before the current secret expires.
Click on Add

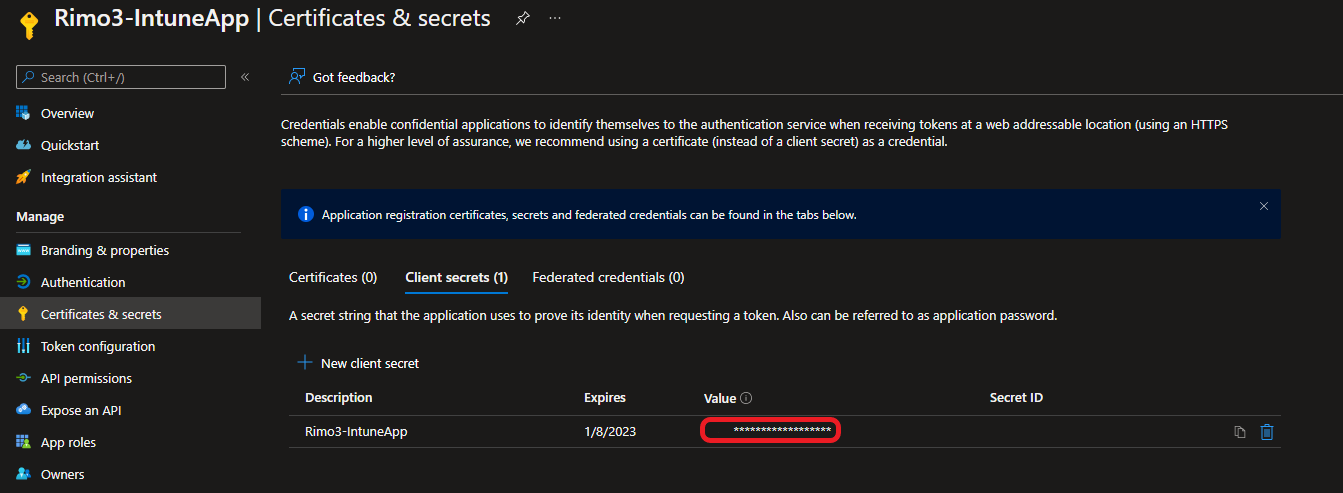
Make a note of the client secret Value as you will need this to configure Intune in your Rimo3 Cloud tenant later.
warning
After browsing away from this screen you will no longer be able to access the client secret value.
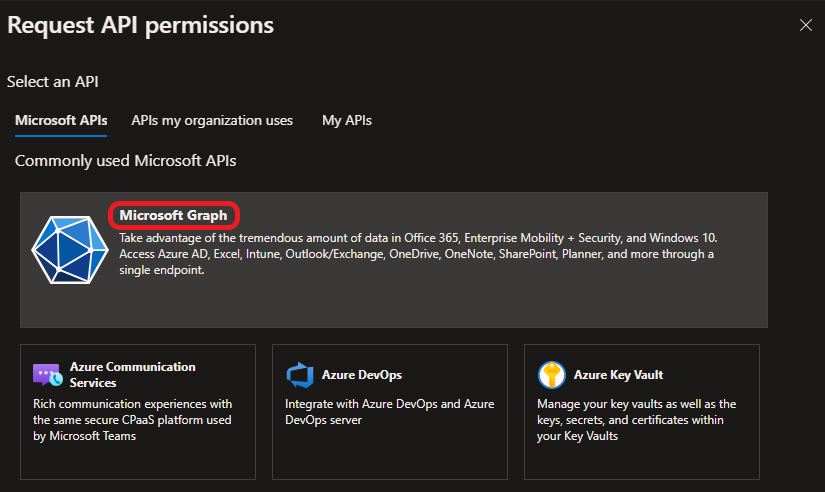
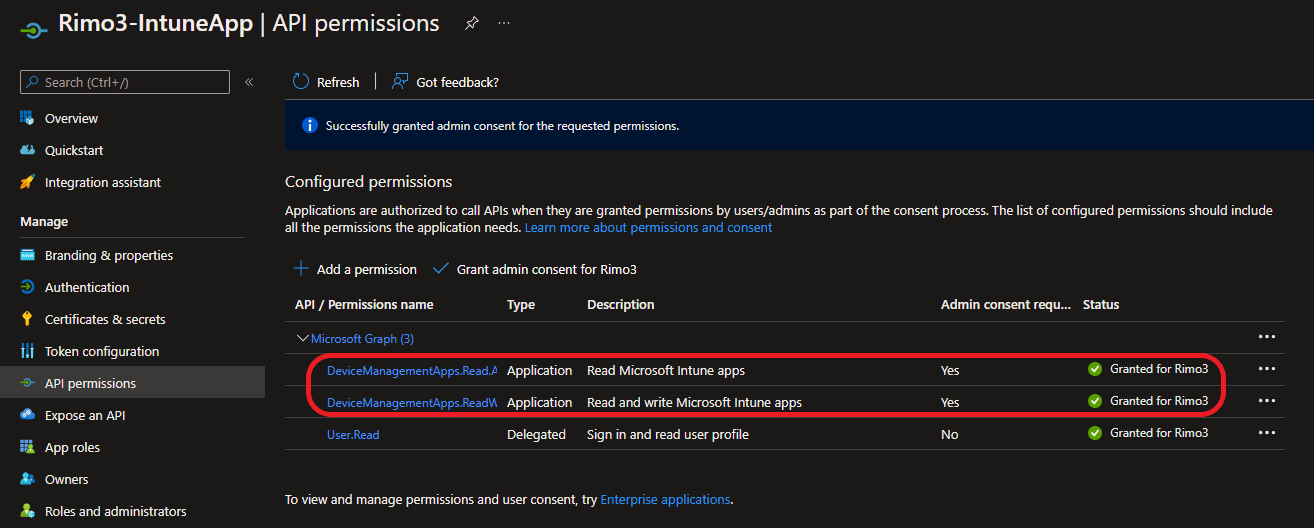
Select API permissions and then click on Add a permission
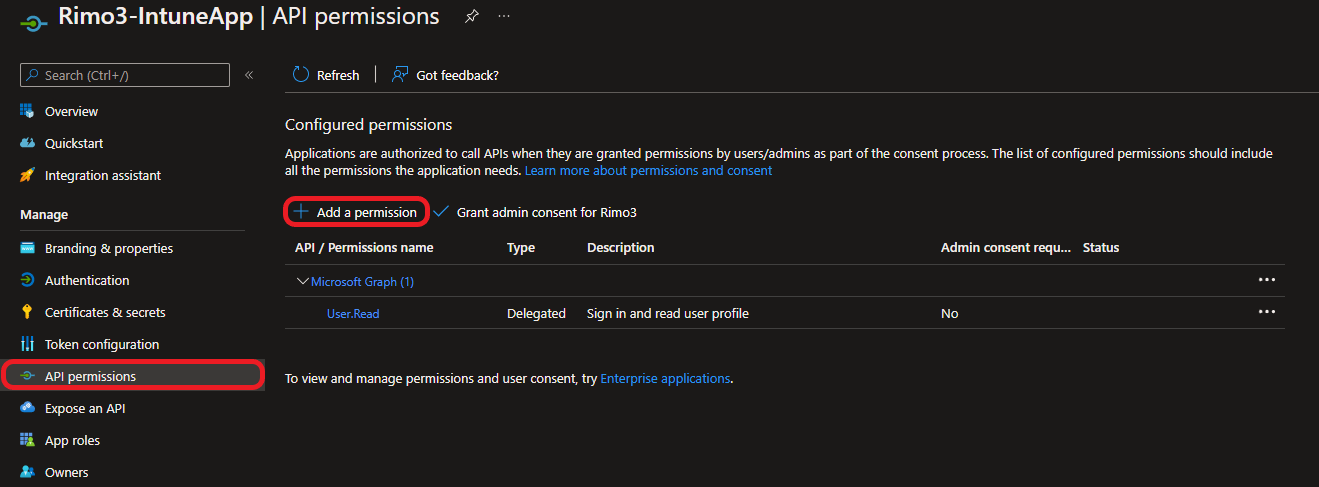
Select Microsoft Graph
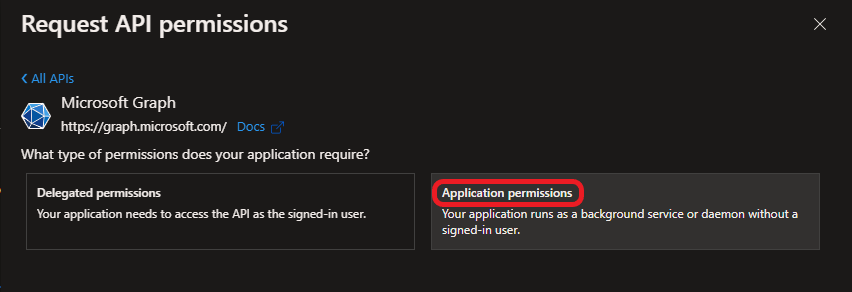
Click on Application permissions
Under Select permissions enter DeviceMangementApps and select:
- DeviceMangementApps.Read.All
- DeviceMangementApps.ReadWrite.All
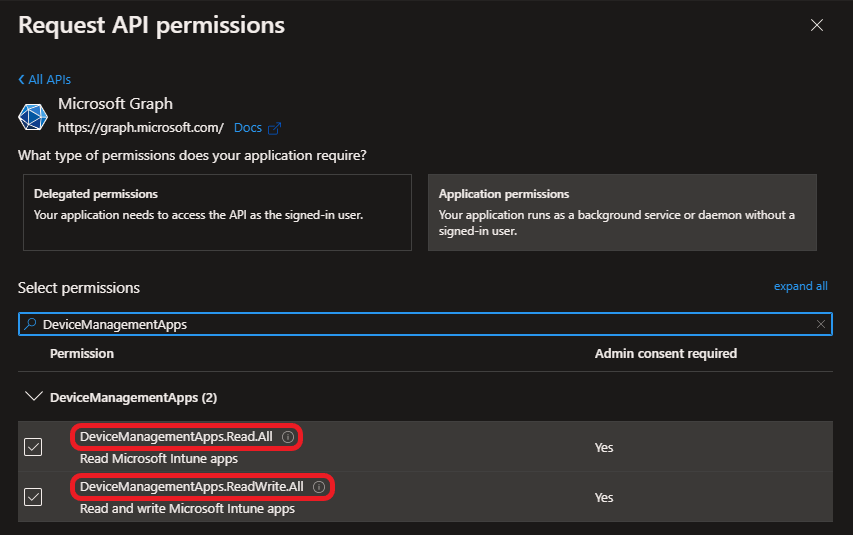
Click on Add permissions

When you are returned to the API permissions screen click on Grant admin consent for <subscription name>
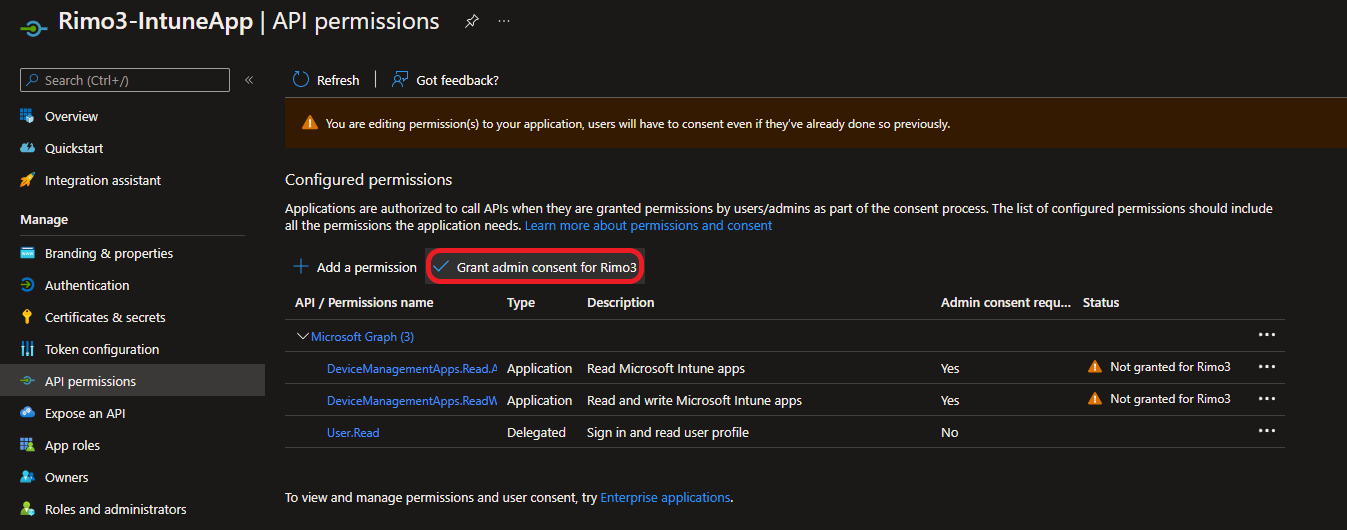
When asked to confirm click on Yes

info
If you are logged into Azure with an account that does not have Application Administrator permissions then you will not be able to grant admin consent.
Check to ensure that consent has been granted for DeviceMangementApps.Read.All and DeviceMangementApps.ReadWrite.All
The App Registration is now configured, and you are ready to configure your Rimo3 Cloud Tenant.
Configuring your Rimo3 Cloud Tenant#
To complete the configuration of Intune in your Rimo3 Cloud tenant you will need the following details collected in the steps above:
- Azure Tenant Id from Step 3
- Application (Client) ID from Step 8
- Client secret value from Step 12
Login to your Rimo3 tenant with an account that has Admin rights
Click on Advanced – Integrations to open the Integrations Hub
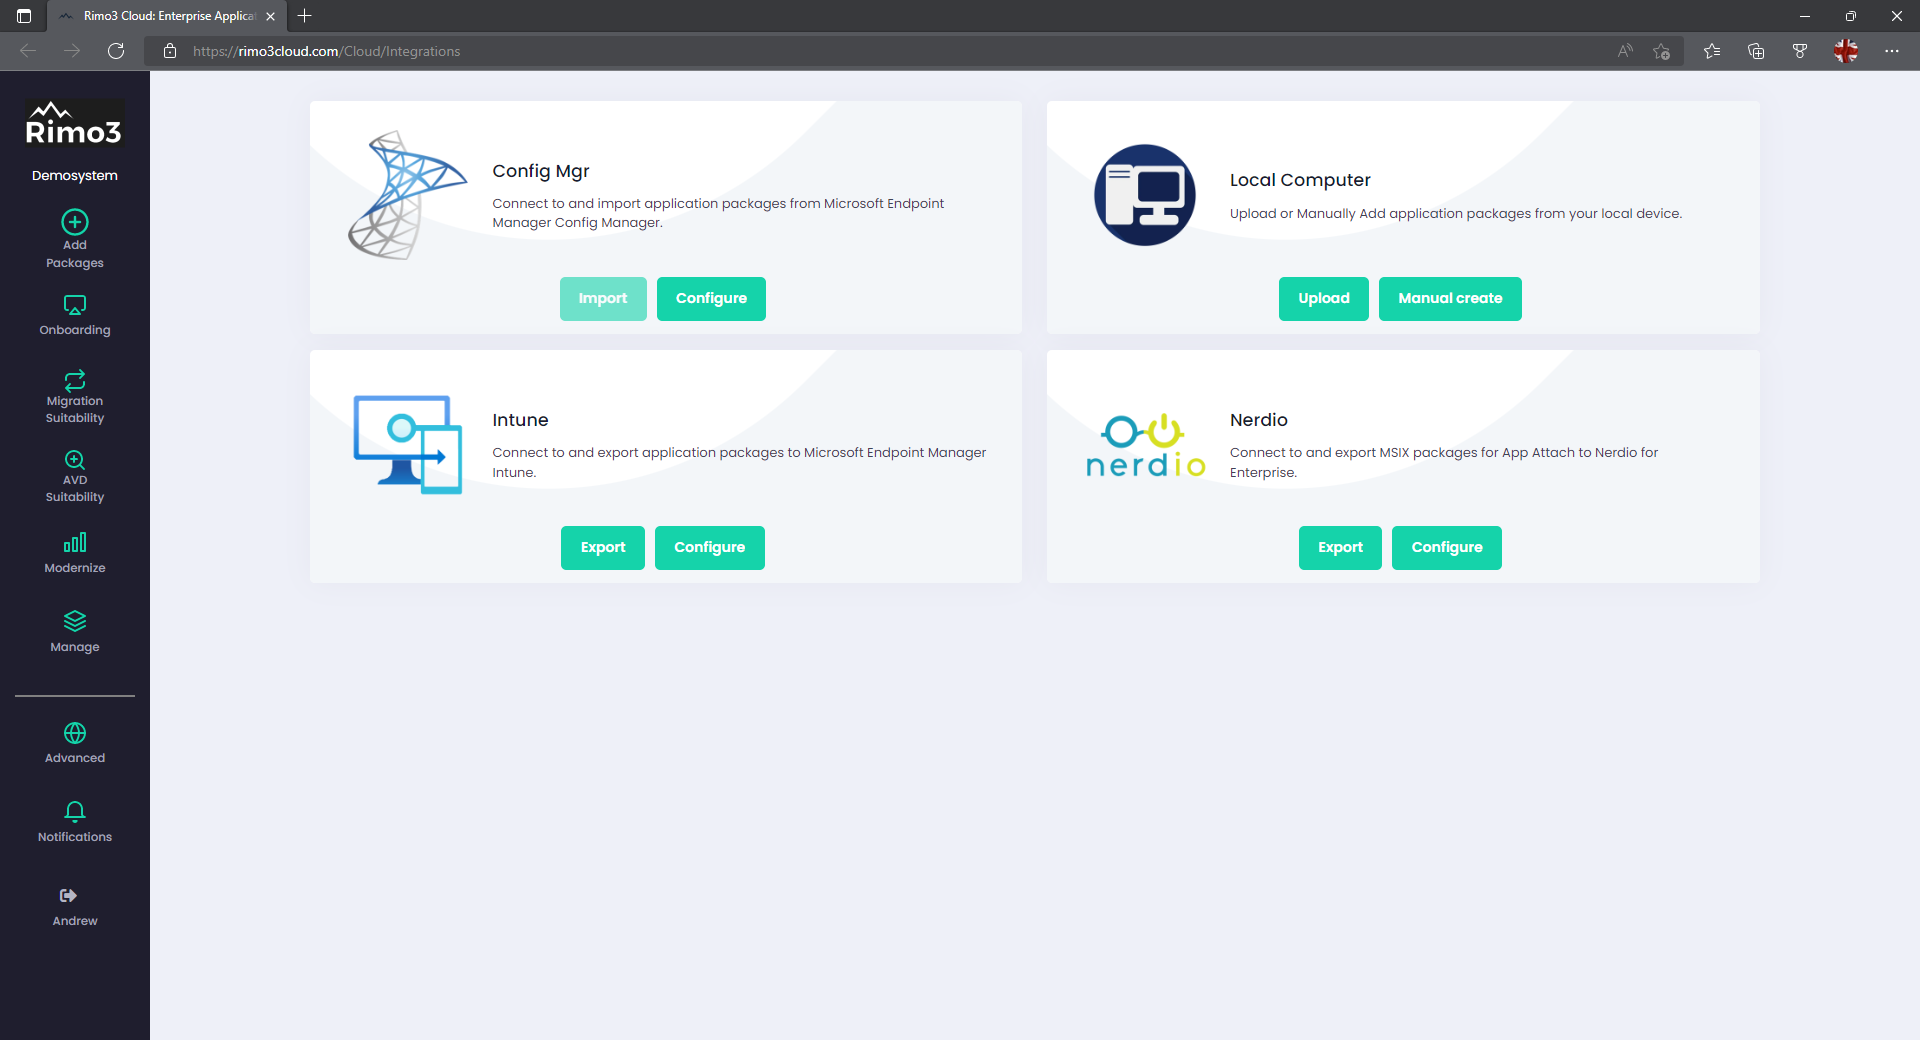
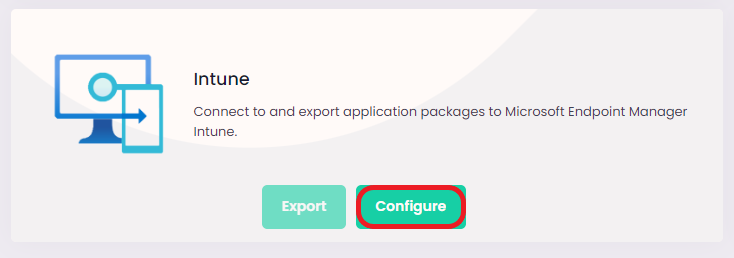
Select Configure on the Intune card
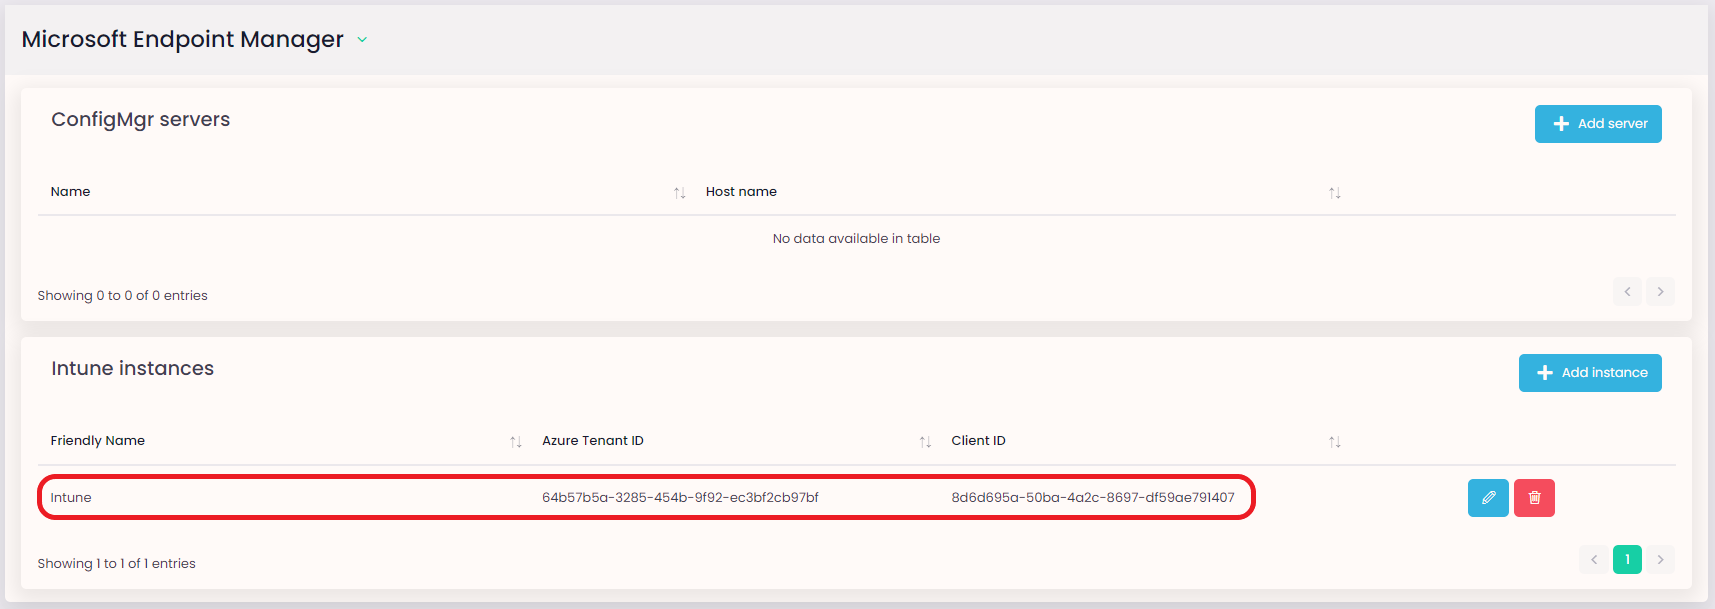
On the Intune instances card select + Add instance
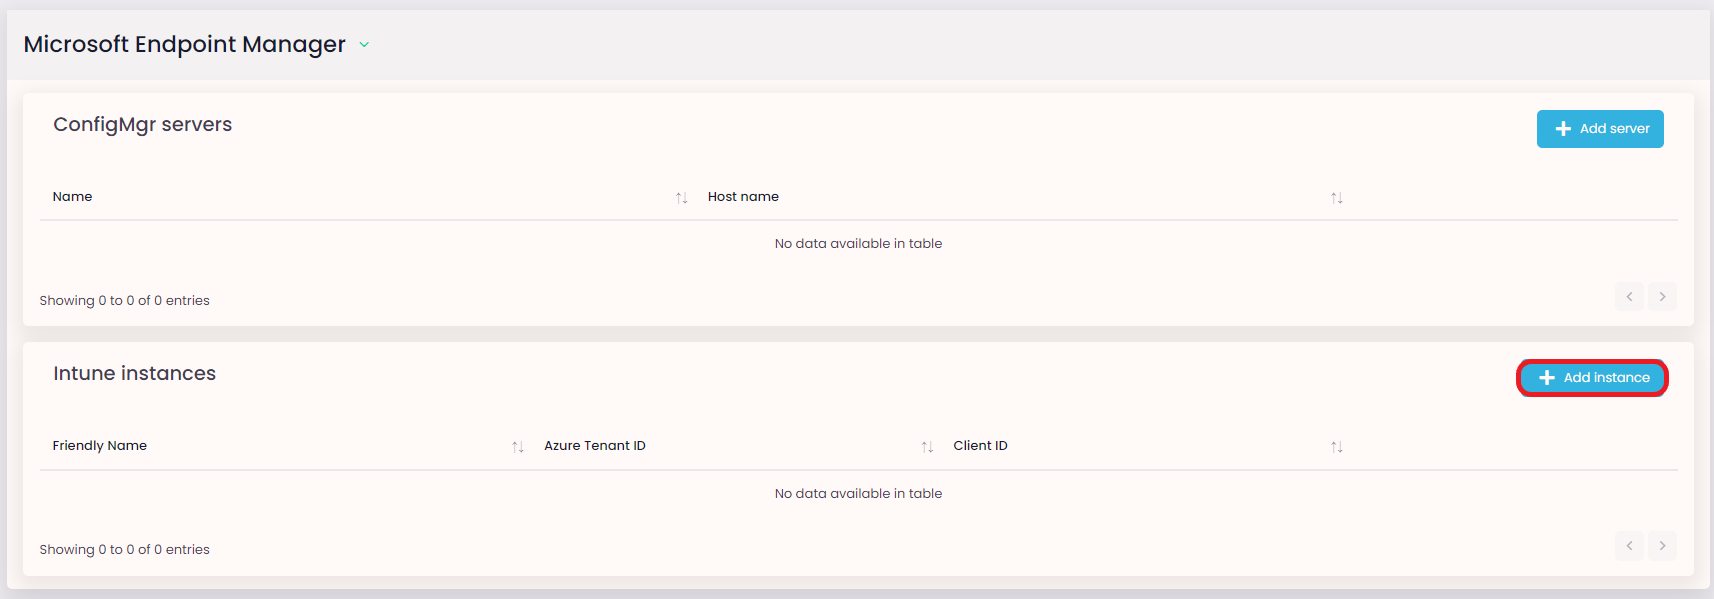
On the Add Intune instance dialog complete all the fields and click on Save:
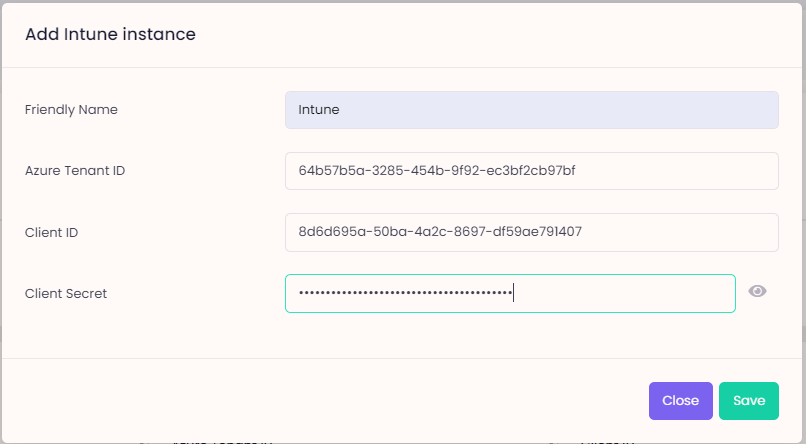
- Friendly Name – this is the name that will appear when choosing which Intune instance to export to
- Azure Tenant ID – for the Azure tenant where the Intune instance is located
- Client ID – this is the Application (Client) ID for the App Registration that was created above
- Client Secret – this is the client secret value that was setup above
info
If you have forgotten or lost the client secret you will need to add a new one by repeating steps 9-12 above.
The configured Intune instance will now be listed on the configuration page, and you can start exporting packages to it.